Jobs & scheduling
Create, schedule, and assign a job
Set the work, service location, date, time, and person or crew responsible.
For Owner, Admin, Manager · FieldSpoke Support
Updated
Describe the work
Open New Job
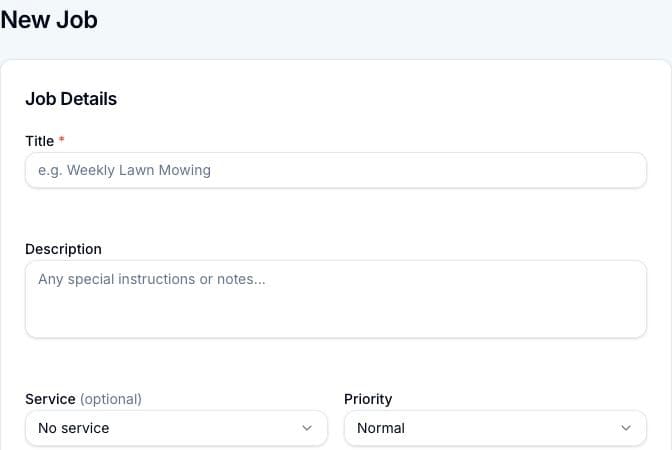
From Jobs, choose New Job. Enter a Title that identifies the work and add a Description with relevant instructions. Select a Service if the work matches an entry in your catalog.
Set priority and price
Choose Low, Normal, High, or Urgent priority as appropriate. Review Price ($) even when you selected a service, so the job reflects the agreed amount.
Choose the service location
Select the Customer, then the Property. If the customer has no active property, use the property form offered on the job screen or add one from the customer page.
Choose the date and time
Set the required Scheduled Date. Use Start time and End time when the visit has specific hours; otherwise the time selectors can remain at No specific time. The Duration in minutes field can help set an end time after you have chosen a start time.
For a visit spanning several days, use the multi-day option and check the end date. Multi-day and recurring scheduling are separate choices: turning on multi-day clears recurring scheduling. Review the date and time together before saving, especially when a timezone notice is present.
Assign the job and verify the saved details
In Assignment, choose an Employee, or choose a Crew when the crew selector is available. With a crew selected, the employee field becomes Point Person and lists crew members. Changing the crew clears the individual selection, so choose the point person after choosing the crew.
Select Create Job. On the saved job page, check Schedule, Assignment, customer, and property. A saved job without an employee or crew is still unassigned; choose the person responsible before expecting them to carry out the visit.
Keep going
Still need a hand?
Email support@fieldspoke.com and tell us where you got stuck.