Estimates & payments
Create and email an invoice
Turn completed work into an invoice, check the amount and terms, and confirm the send result.
For Owner, Admin, Manager · FieldSpoke Support
Updated
Create the invoice from the right place
For completed job work, open the job and choose Create Invoice when available. If the job already has an invoice, use View Invoice to inspect it. You can also open Invoices and choose New Invoice, or use Convert to Invoice on an approved estimate.
Check for an existing invoice before creating another one for the same work. A job status labeled Invoiced is not a substitute for opening and reviewing the invoice document.
Review the customer, terms, and total
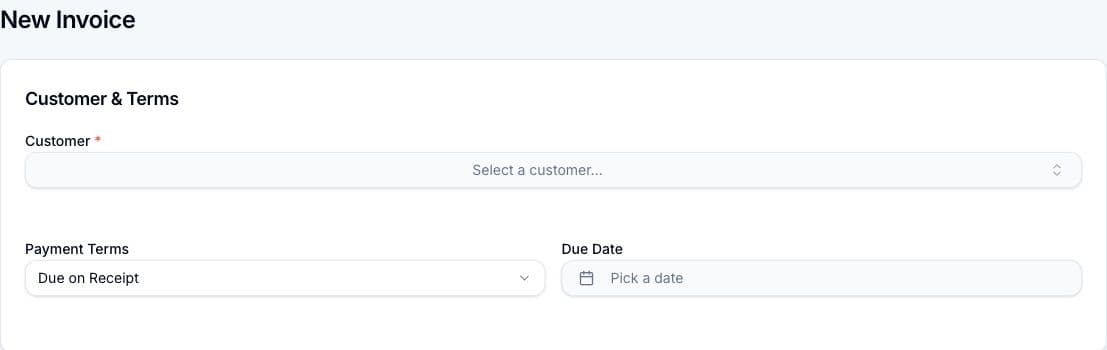
Check Customer & Terms
On a new invoice, select the customer and review Payment Terms and Due Date. Make sure the due date matches the arrangement with the customer.
Check the line items
Review descriptions, quantities, unit prices, Tax Rate, and total. Add useful Notes, then choose Create Invoice to save a new draft.
Inspect the saved document
Open the invoice details and check the line items and Payment Summary. Use the PDF download action when you need to inspect or retain the document.
Email the invoice and check Send History
On a draft invoice, choose Send Invoice. Confirm Recipient Email, add an optional personal message, and choose Send. The invoice email includes a PDF attachment. The web invoice send dialog uses email; estimate SMS delivery is a separate feature.
Review Send History for the recipient and status of each attempt. If delivery failed, inspect the error and address before using Resend Invoice. When payment arrives, check Payment Summary and Payment History and use Record Payment if the payment needs to be entered manually.
Keep going
Still need a hand?
Email support@fieldspoke.com and tell us where you got stuck.